Have you ever encountered a dessert that looks like a cloud and tastes like a dream? That, my friends, is Pavlova. If you’re asking yourself, “What Is Pavlova?”, prepare to be introduced to a dessert sensation that’s both elegant and surprisingly simple to make. For those who haven’t yet experienced its melt-in-your-mouth magic, you’re in for a treat. Pavlova isn’t just a dessert; it’s a showstopper, a conversation starter, and a guaranteed crowd-pleaser, perfect for any occasion from casual summer gatherings to sophisticated dinner parties. And the best part? Despite its fancy appearance, pavlova is wonderfully easy to create in your own kitchen with just a handful of ingredients.
What Exactly is Pavlova?
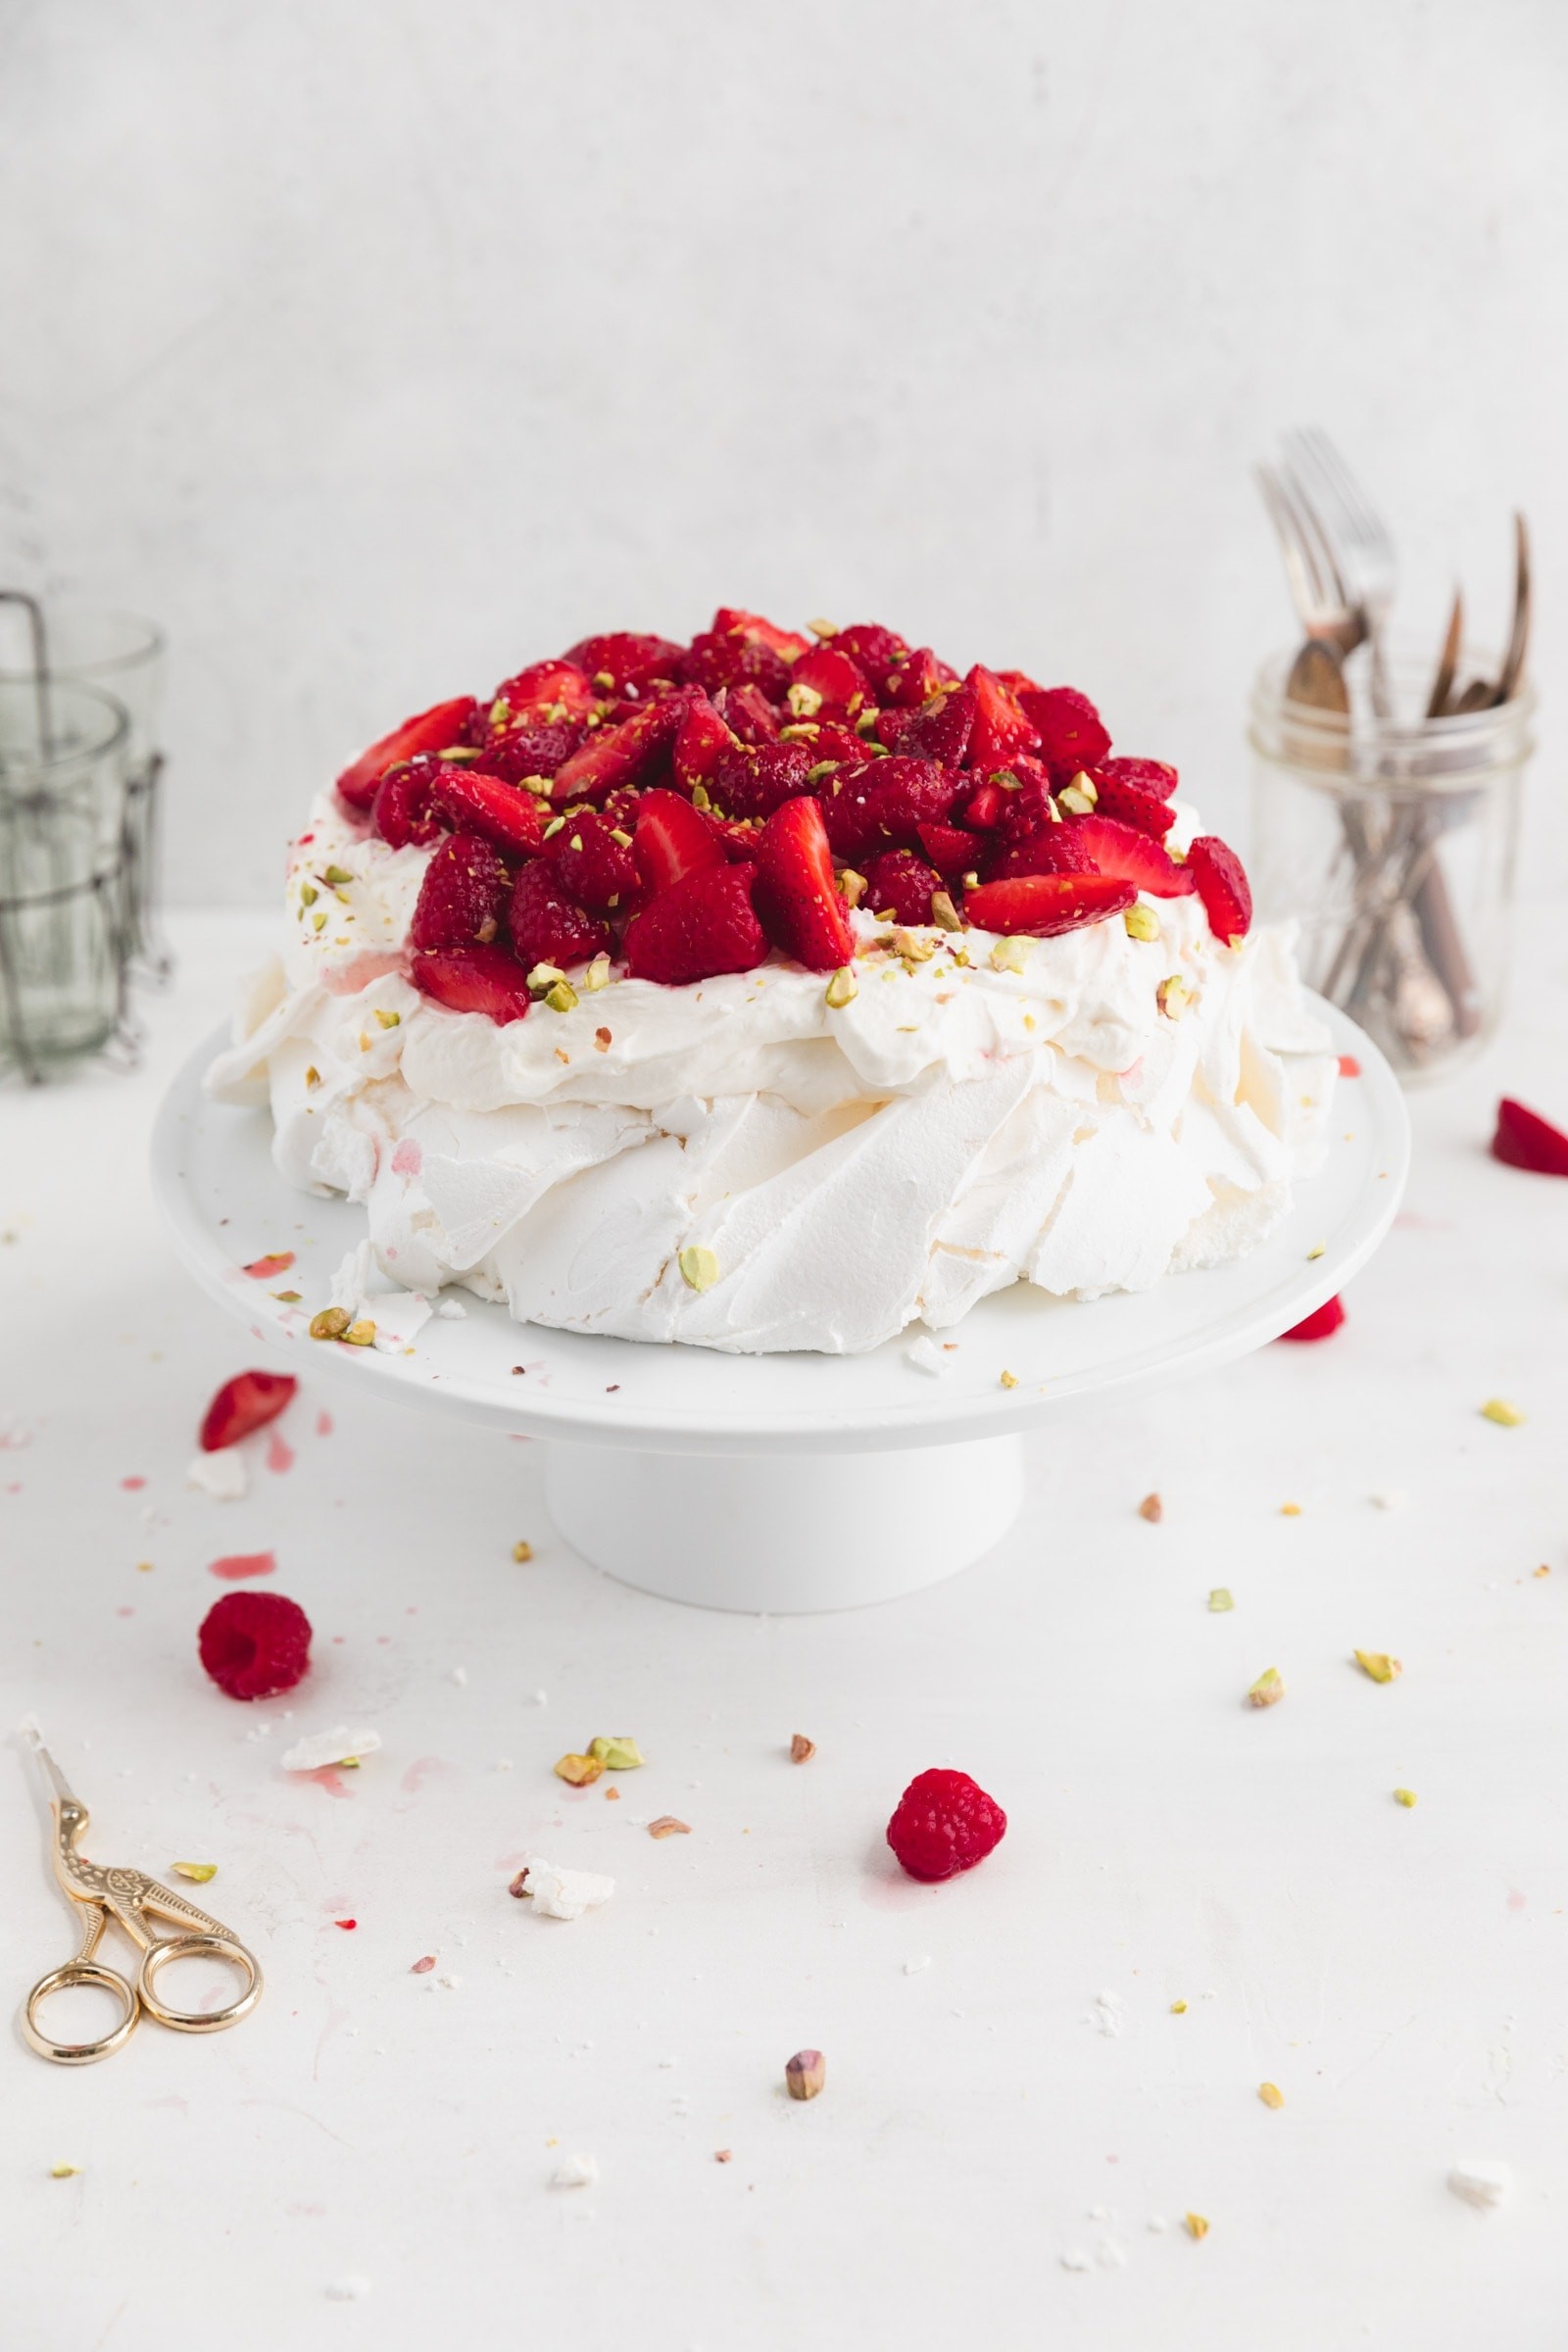
Named after the legendary Russian ballerina Anna Pavlova, this dessert is a meringue-based creation that’s truly in a class of its own. Imagine biting into something with a delicate, crisp shell that gives way to a soft, marshmallow-like center. That’s the unique textural experience of a pavlova. It’s light, airy, and subtly sweet – a delightful explosion of textures in every bite. Traditionally, pavlova is adorned with a generous topping of whipped cream and fresh fruit, but its versatility extends to various delectable additions like lemon curd or homemade jam for those seeking an extra layer of flavor.
Pavlova holds a special place in the culinary hearts of Australia and New Zealand, often considered a national dessert in both countries. While its origins are debated, its popularity is undeniable, and it’s steadily gaining recognition and adoration in American culture and beyond. What makes pavlova even more appealing? It’s naturally gluten-free, making it an inclusive dessert option for many. Often enjoyed as a refreshing summer treat, pavlova’s delightful lightness makes it the perfect finale to a warm-weather meal. However, its deliciousness knows no season; once you taste it, you’ll want to enjoy pavlova year-round.
The Simple Ingredients Behind Pavlova
One of the beauties of pavlova is its simplicity. You don’t need a long list of exotic ingredients to create this masterpiece. In fact, you likely have everything you need already in your kitchen. Let’s break down the key components that come together to make pavlova so special:
- Egg Whites: The foundation of pavlova, just like any meringue, relies on perfectly whipped egg whites. These create the light, airy structure that is characteristic of pavlova.
- Granulated Sugar: Sugar not only sweetens the pavlova but also plays a crucial role in aerating the egg whites and creating that signature crisp exterior. It’s essential to ensure the sugar dissolves completely into the egg whites to avoid a gritty texture.
- Vinegar or Lemon Juice: A touch of acidity is key to pavlova’s success. Vinegar or lemon juice helps stabilize the egg whites, preventing them from collapsing and contributing to the delightful chewy center. Apple cider vinegar, white vinegar, or lemon juice all work wonderfully.
- Cornstarch: This secret ingredient helps absorb any excess moisture from the vinegar and further stabilizes the meringue structure, ensuring that perfect marshmallowy interior we all crave.
- Vanilla Extract: A good quality vanilla extract elevates any dessert, and pavlova is no exception. It adds a delicate warmth and enhances the overall flavor profile.
While these five ingredients form the core of a pavlova, the toppings are where you can truly personalize your creation. Whipped cream and fresh fruit are classic choices, but the possibilities are endless!
Endless Pavlova Topping Ideas
The beauty of pavlova lies in its versatility when it comes to toppings. It’s a fantastic dessert to customize based on your preferences, what you have on hand, or seasonal fruits. Here are some inspiring topping ideas to get your creativity flowing:
- Classic Whipped Cream: Lightly sweetened whipped cream is the traditional and arguably essential topping for pavlova. Its creamy texture perfectly complements the crisp meringue.
- Lemon Curd: For a tangy twist, lemon curd adds a burst of citrusy brightness that cuts through the sweetness of the meringue.
- Homemade Jam: A spoonful of your favorite homemade jam, whether it’s berry, fig, or apricot, adds a fruity sweetness and a touch of rustic charm.
- Chopped Nuts: For added texture and flavor, sprinkle chopped nuts like almonds, pecans, or pistachios over the whipped cream.
- Coconut: Toasted coconut flakes bring a tropical note and a delightful crunch.
- Fresh Berries and Fruits: Berries like strawberries, raspberries, blueberries, and blackberries are classic choices, but don’t limit yourself! Sliced kiwi, mango, peaches, or passion fruit also work beautifully.
- Chocolate: Shaved chocolate, chocolate sauce, or even chocolate-covered espresso beans can add a decadent touch for chocolate lovers.
Tips for Pavlova Perfection
Making pavlova might seem intimidating at first, especially if you’re new to meringue. However, with a few key tips in mind, you can easily achieve pavlova perfection. Here’s what to keep in mind:
- Refine Your Sugar: Granulated sugar can sometimes result in a slightly gritty pavlova. To avoid this, pulse your sugar briefly in a food processor or blender to create finer granules. This helps it dissolve more easily into the egg whites. If you skip this step, just ensure you beat the mixture longer until the sugar is fully dissolved.
- Whip Eggs First, Then Sugar: Meringue relies solely on whipped egg whites for leavening. Therefore, it’s crucial to whip the egg whites to soft peaks before gradually adding the sugar. Continue whipping until stiff, glossy peaks form and no sugar granules remain.
- Patience is Key: Pavlova is not a quick dessert. While the prep is minimal, it requires time and patience. Whisking the meringue to the perfect consistency and baking it low and slow are essential for the best results.
- Low and Slow Baking: To prevent cracking and ensure even cooking, bake your pavlova at a low temperature for a prolonged period. After baking, turn off the oven and let the pavlova cool completely inside the oven with the door slightly ajar. This slow cooling process is crucial for preventing cracks and ensuring the meringue dries out properly.
- Cool Completely Before Topping: Resist the urge to assemble your pavlova while the meringue is still warm. Warm meringue is delicate and can cause the whipped cream to melt and slide off. Ensure the pavlova is completely cool before adding any toppings.
Shaping Your Pavlova
Pavlova can be shaped in various ways, from one large show-stopping cake to individual mini pavlovas. For a standard-sized pavlova, baking it on a cookie sheet lined with parchment paper or a silicone baking mat is ideal. Avoid greasing the surface, as the egg whites need a bit of grip to maintain their structure. A helpful tip is to trace a circle (using an 8-inch cake pan as a guide) on the parchment paper to use as a template for shaping your pavlova. While precise shaping isn’t necessary, creating a slight divot in the center, resembling a shallow volcano, is recommended. This creates a perfect well to hold your toppings. Whether you opt for a single large pavlova or individual servings, have fun with the shaping and embrace the rustic charm of this free-form dessert.
Knowing When Your Pavlova is Ready
Determining when a pavlova is perfectly baked can be a bit tricky, as it’s a delicate balance. Unlike cakes where you insert a knife to check for doneness, pavlova requires a more gentle approach. You’re aiming for a crisp exterior and a soft, marshmallowy center. The pavlova should not brown or darken in color during baking; if it does, your oven temperature is likely too high. The low and slow baking process, followed by cooling in the oven, is crucial for achieving the ideal texture. The best way to check is to gently touch the pavlova – the outside should feel firm and crisp. It’s better to err on the side of slightly underbaked, as the residual heat will continue to set the center as it cools.
Embracing the Cracks in Pavlova
Cracking is a common occurrence with pavlova, and it’s perfectly normal! Think of cracks as part of pavlova’s rustic charm rather than a baking flaw. Factors like air bubbles, temperature fluctuations, and oven variations can contribute to cracking. However, there are a few things you can do to minimize them:
- Ensure Sugar is Dissolved: Undissolved sugar granules can create air bubbles, leading to cracks. Make sure your sugar is fully incorporated into the meringue.
- Know Your Oven: Ovens can be temperamental. If you know your oven runs hot, slightly reduce the baking temperature.
- Minimize Oven Door Opening: Avoid opening the oven door frequently during baking, as temperature changes can cause cracking.
- Fan-Assisted Ovens: If your oven has a fan, consider baking at a slightly lower temperature (around 180°F instead of 200°F) and, if possible, turn off the fan for more even heating.
Even with your best efforts, some cracking might still occur, and that’s absolutely okay. A cracked pavlova is just as delicious and beautiful once adorned with toppings. So, don’t fret over a few cracks – embrace the natural beauty of this delightful dessert!
Pavlova is more than just a dessert; it’s an experience. Its unique texture, delicate sweetness, and endless topping possibilities make it a truly special treat. Now that you know “what is pavlova” and how easy it is to make, why not try baking one yourself and discover the magic of this meringue marvel?